Skip to main content
Hit enter to search or ESC to close
Close Search
803-379-1932
Menu
8
0
3
–
3
7
9
–
1
9
3
2
facebook
google-plus
instagram
Menu
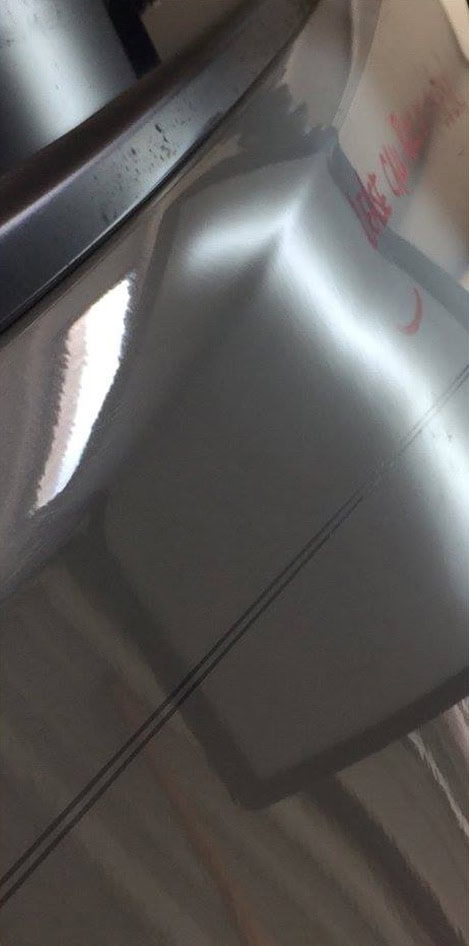
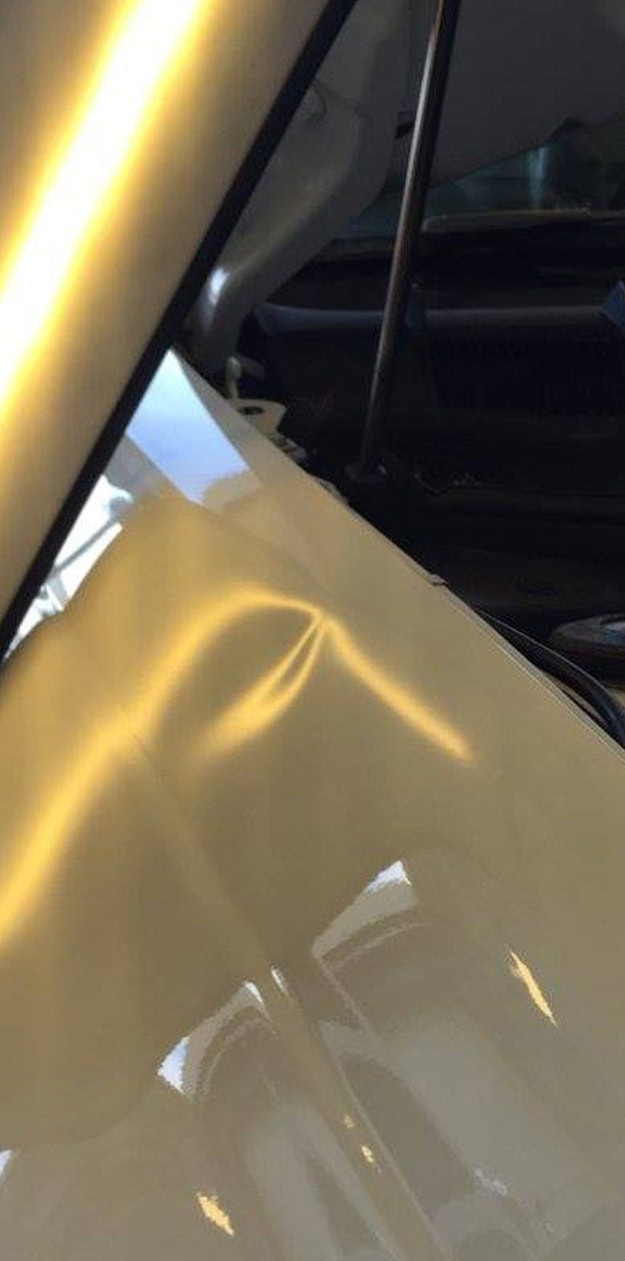
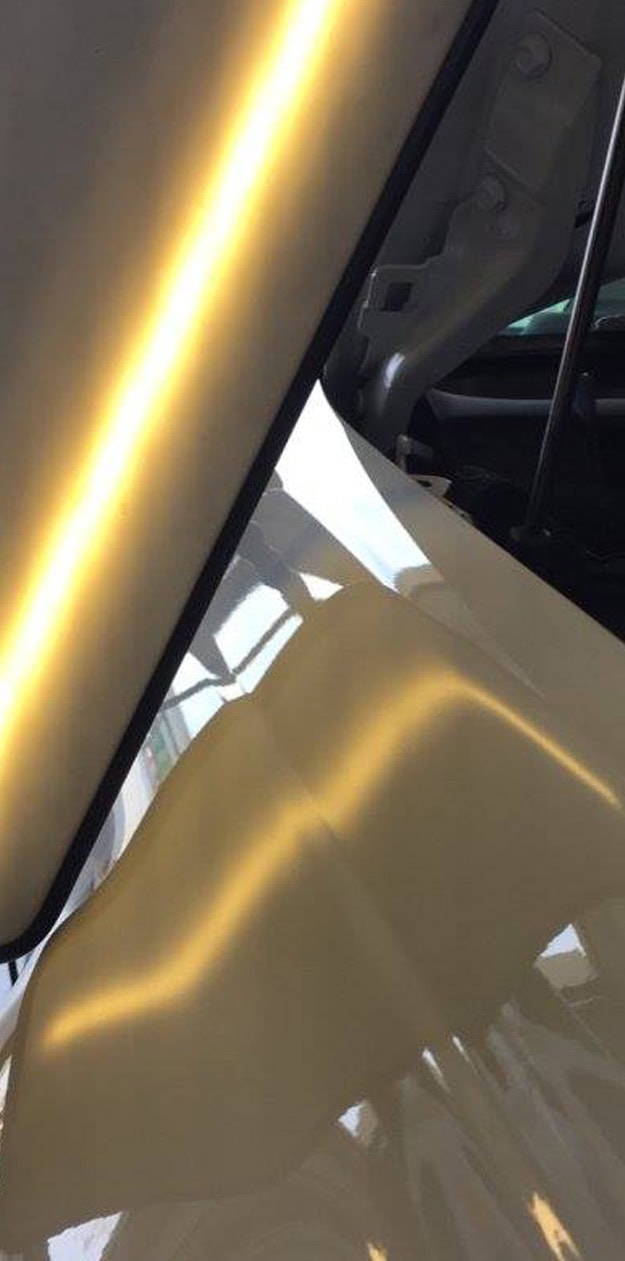
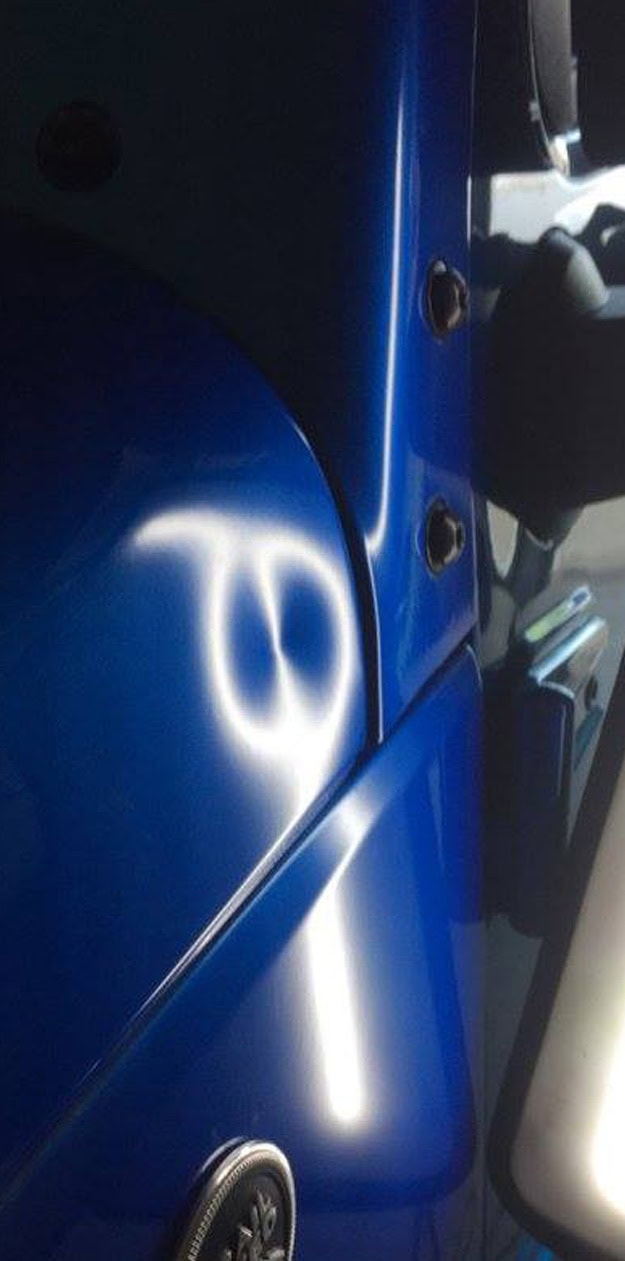
Before & After
Explore the Gallery
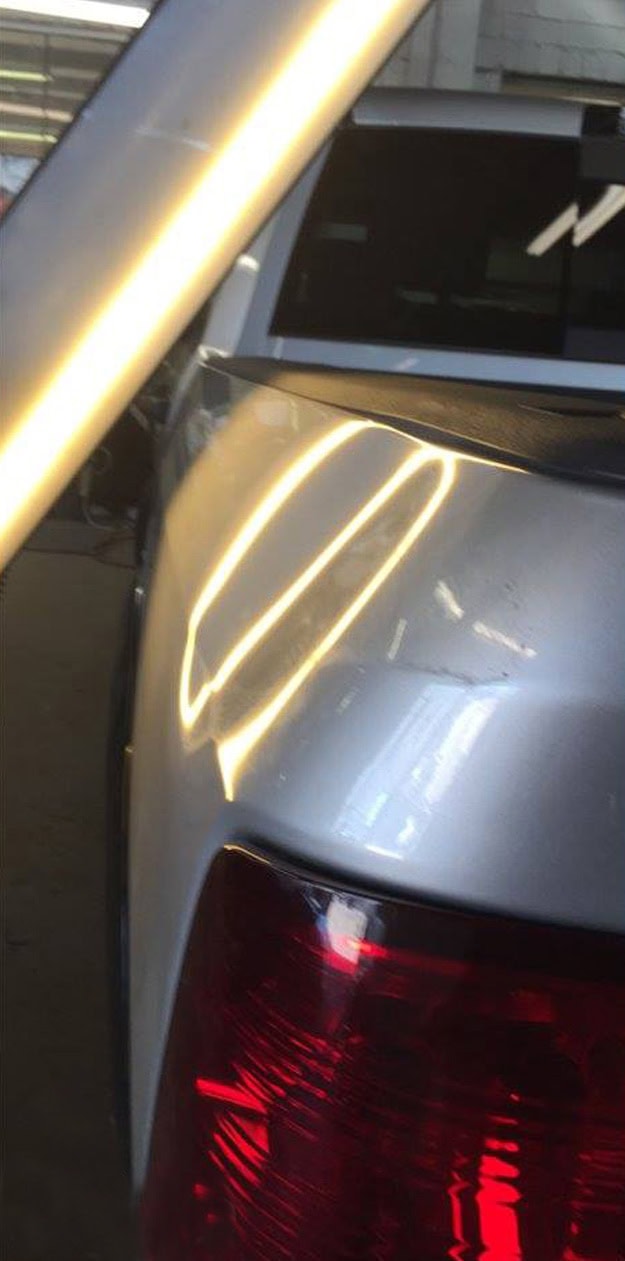
toyota_tundra_silver_rear_before
Before
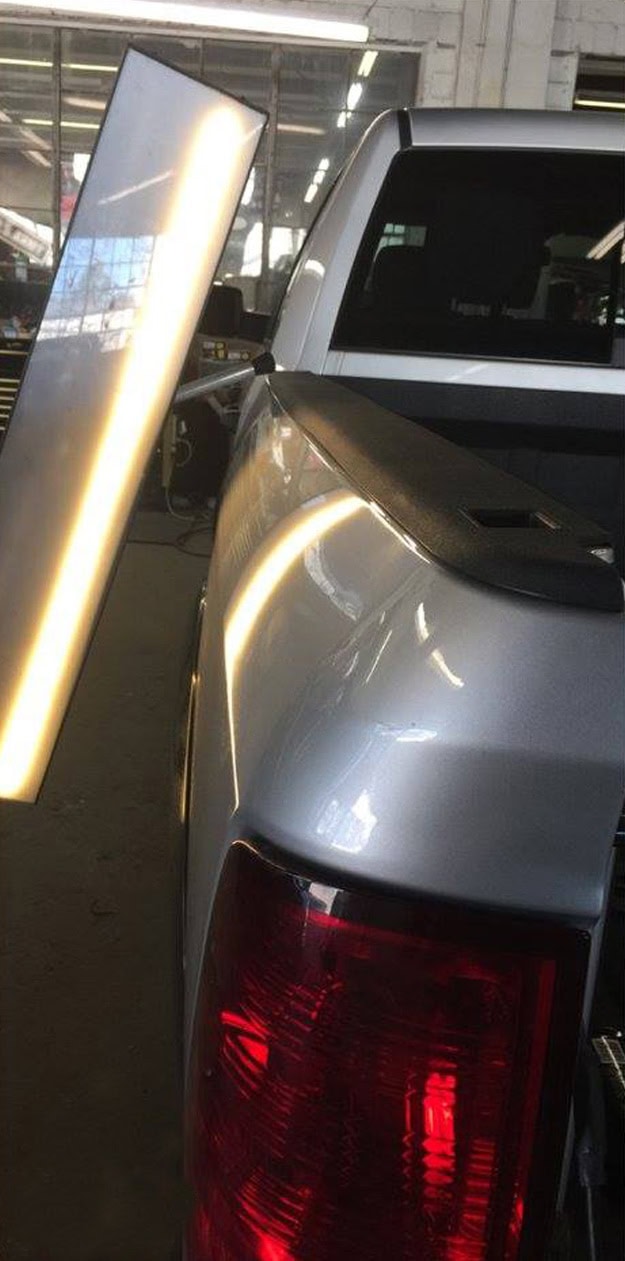
toyota_tundra_silver_rear_after
After
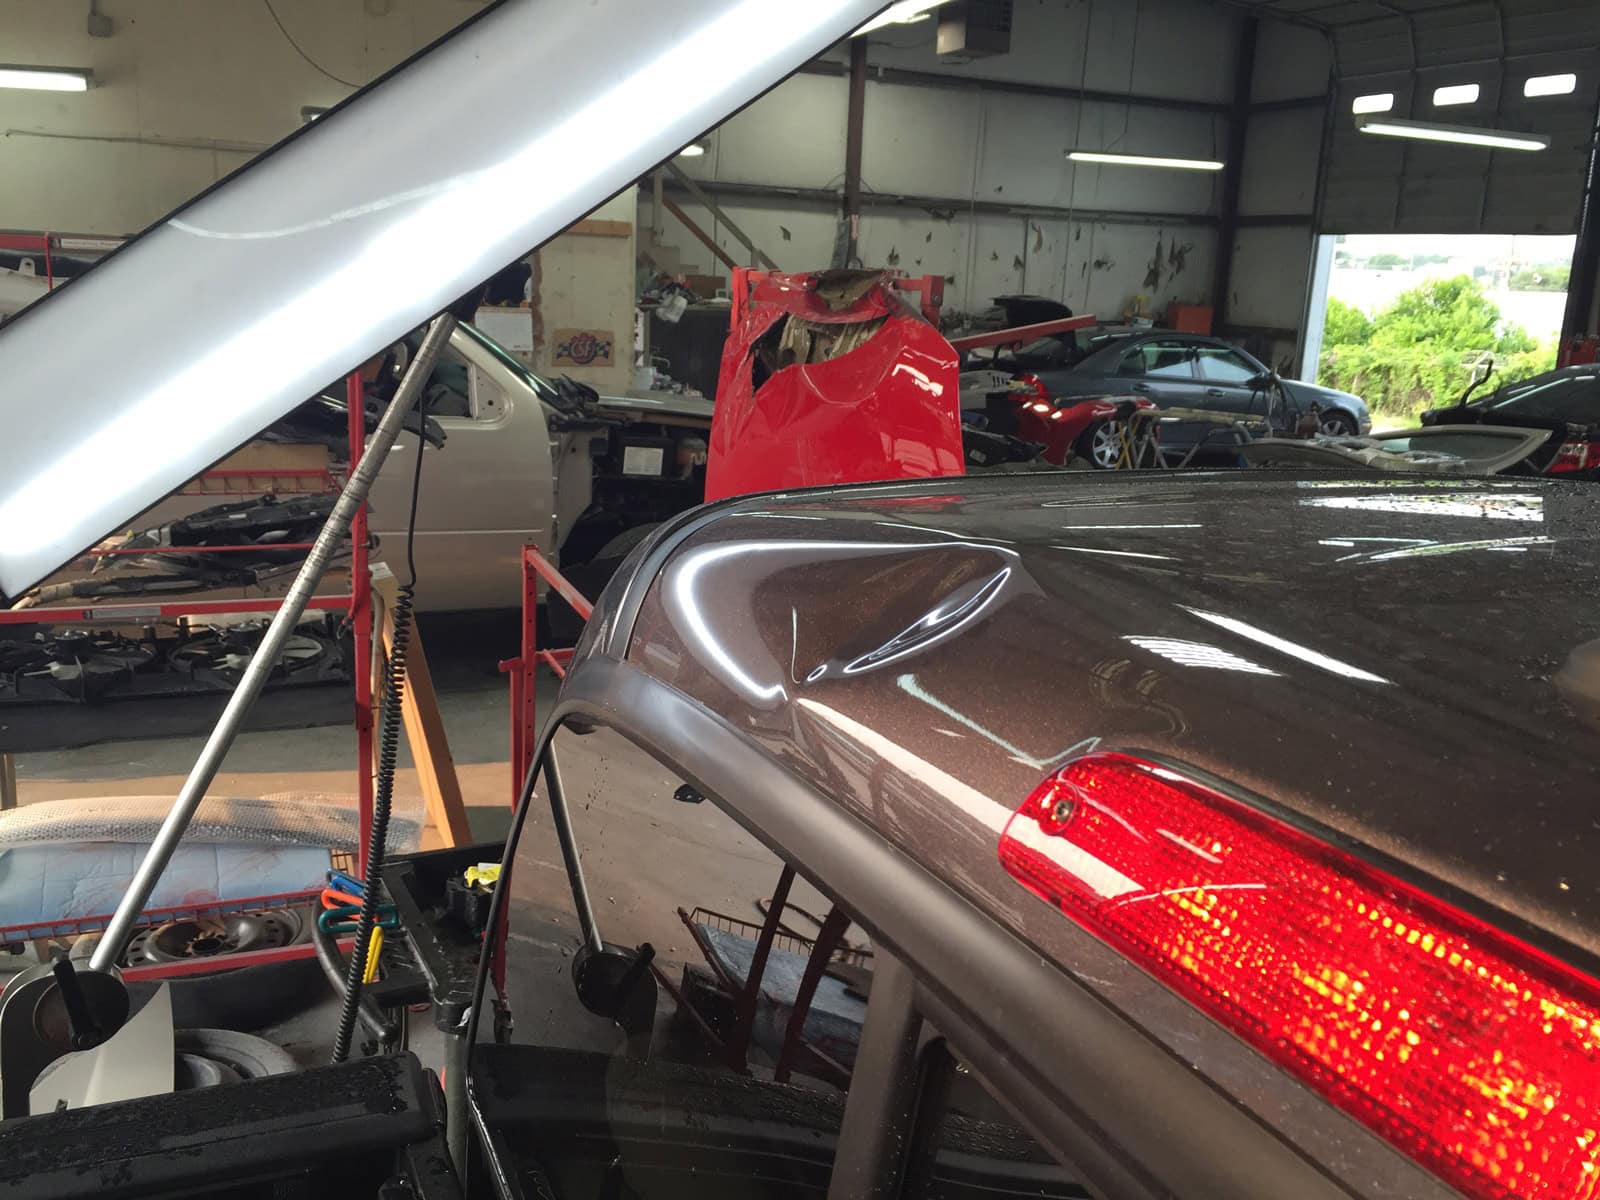
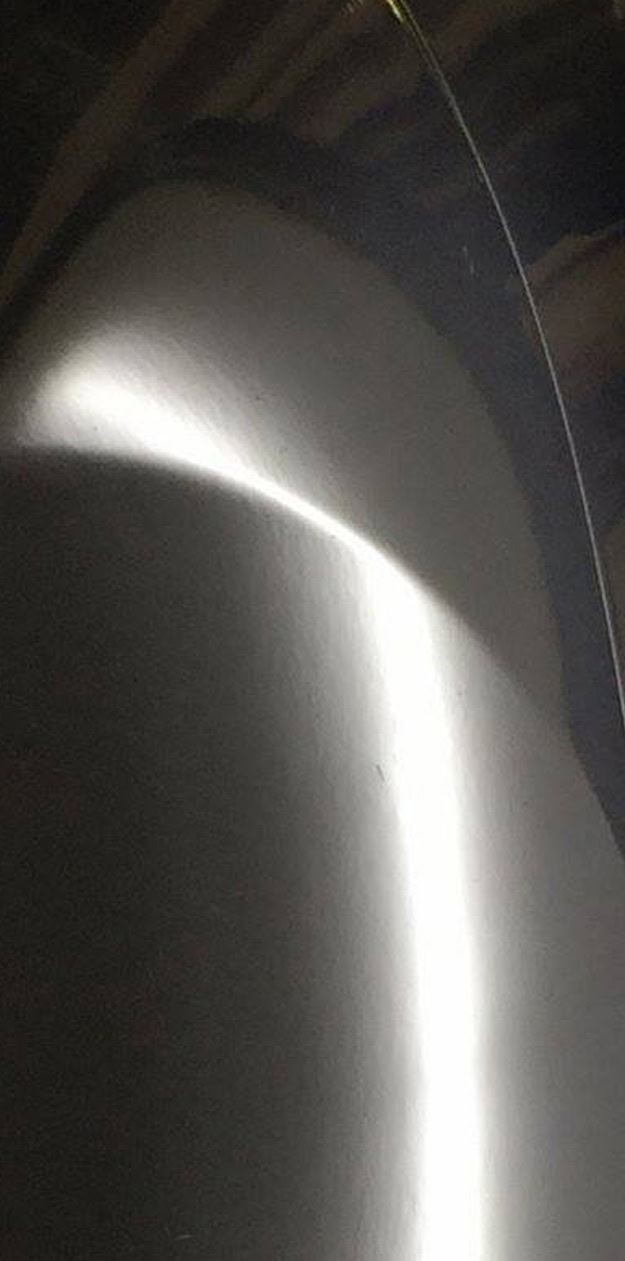
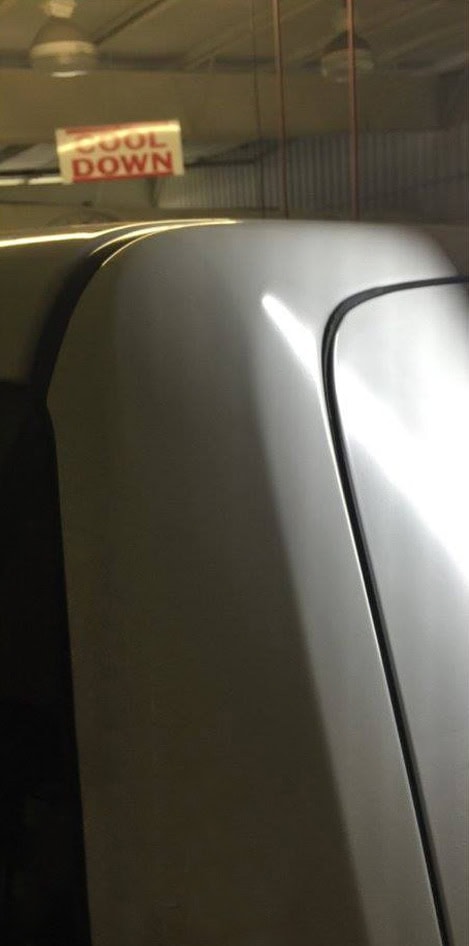
toyota_tacoma_grey_roof_before
Before
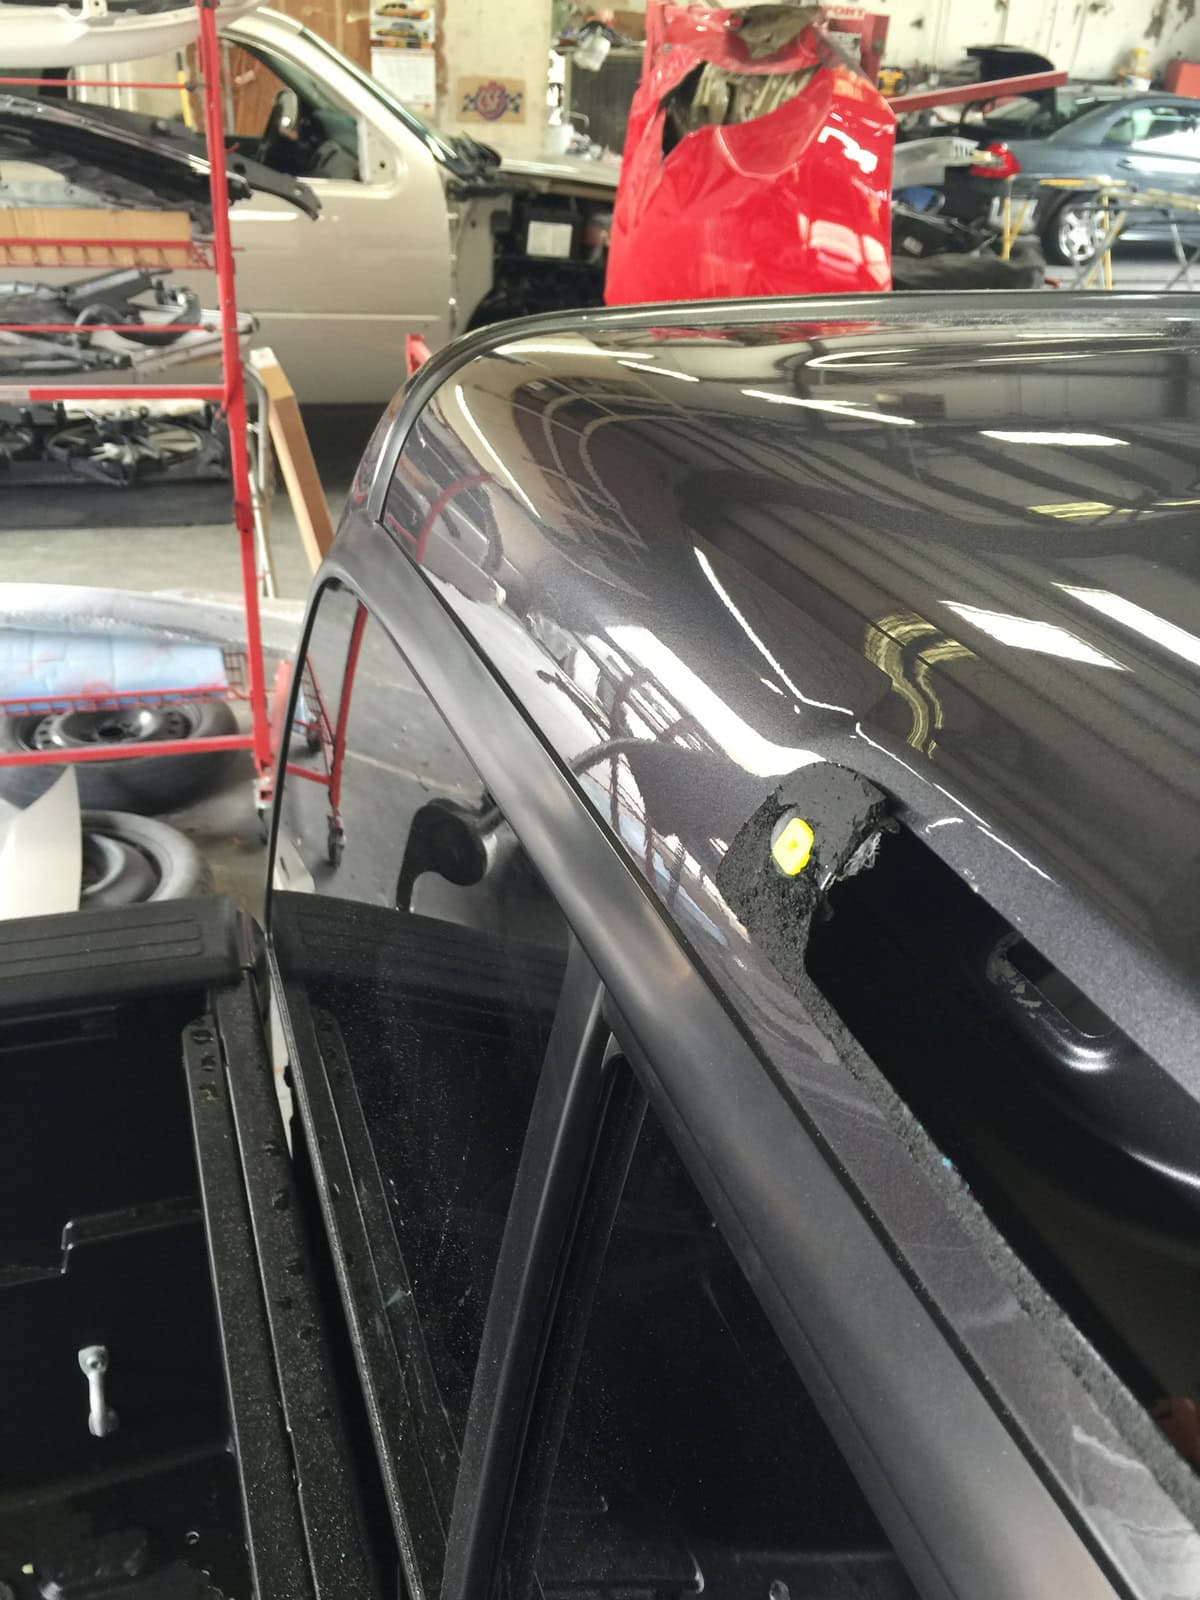
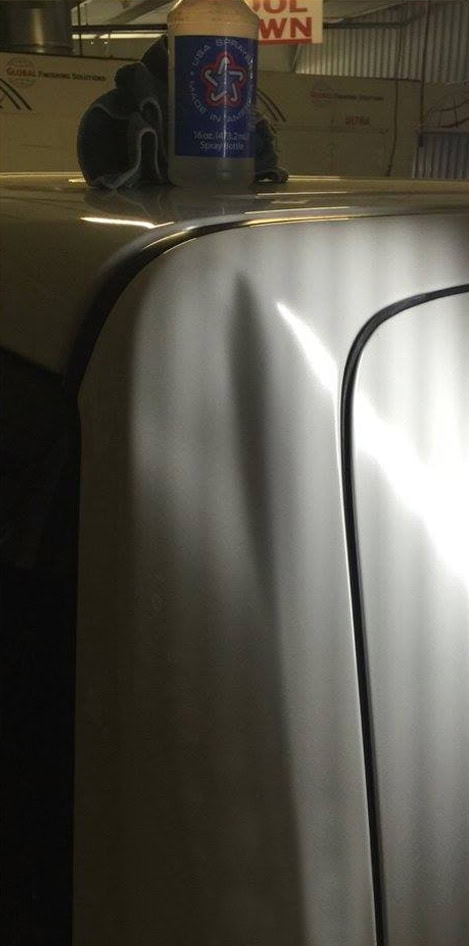
toyota_tacoma_grey_roof_after
After
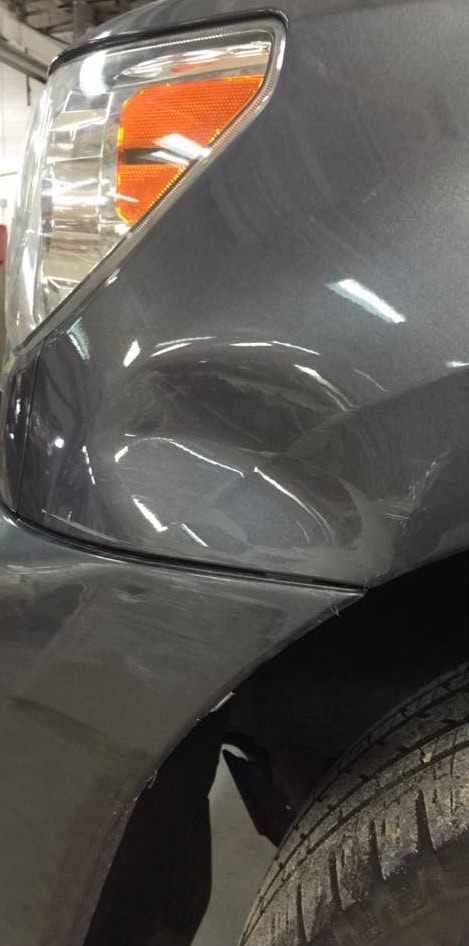
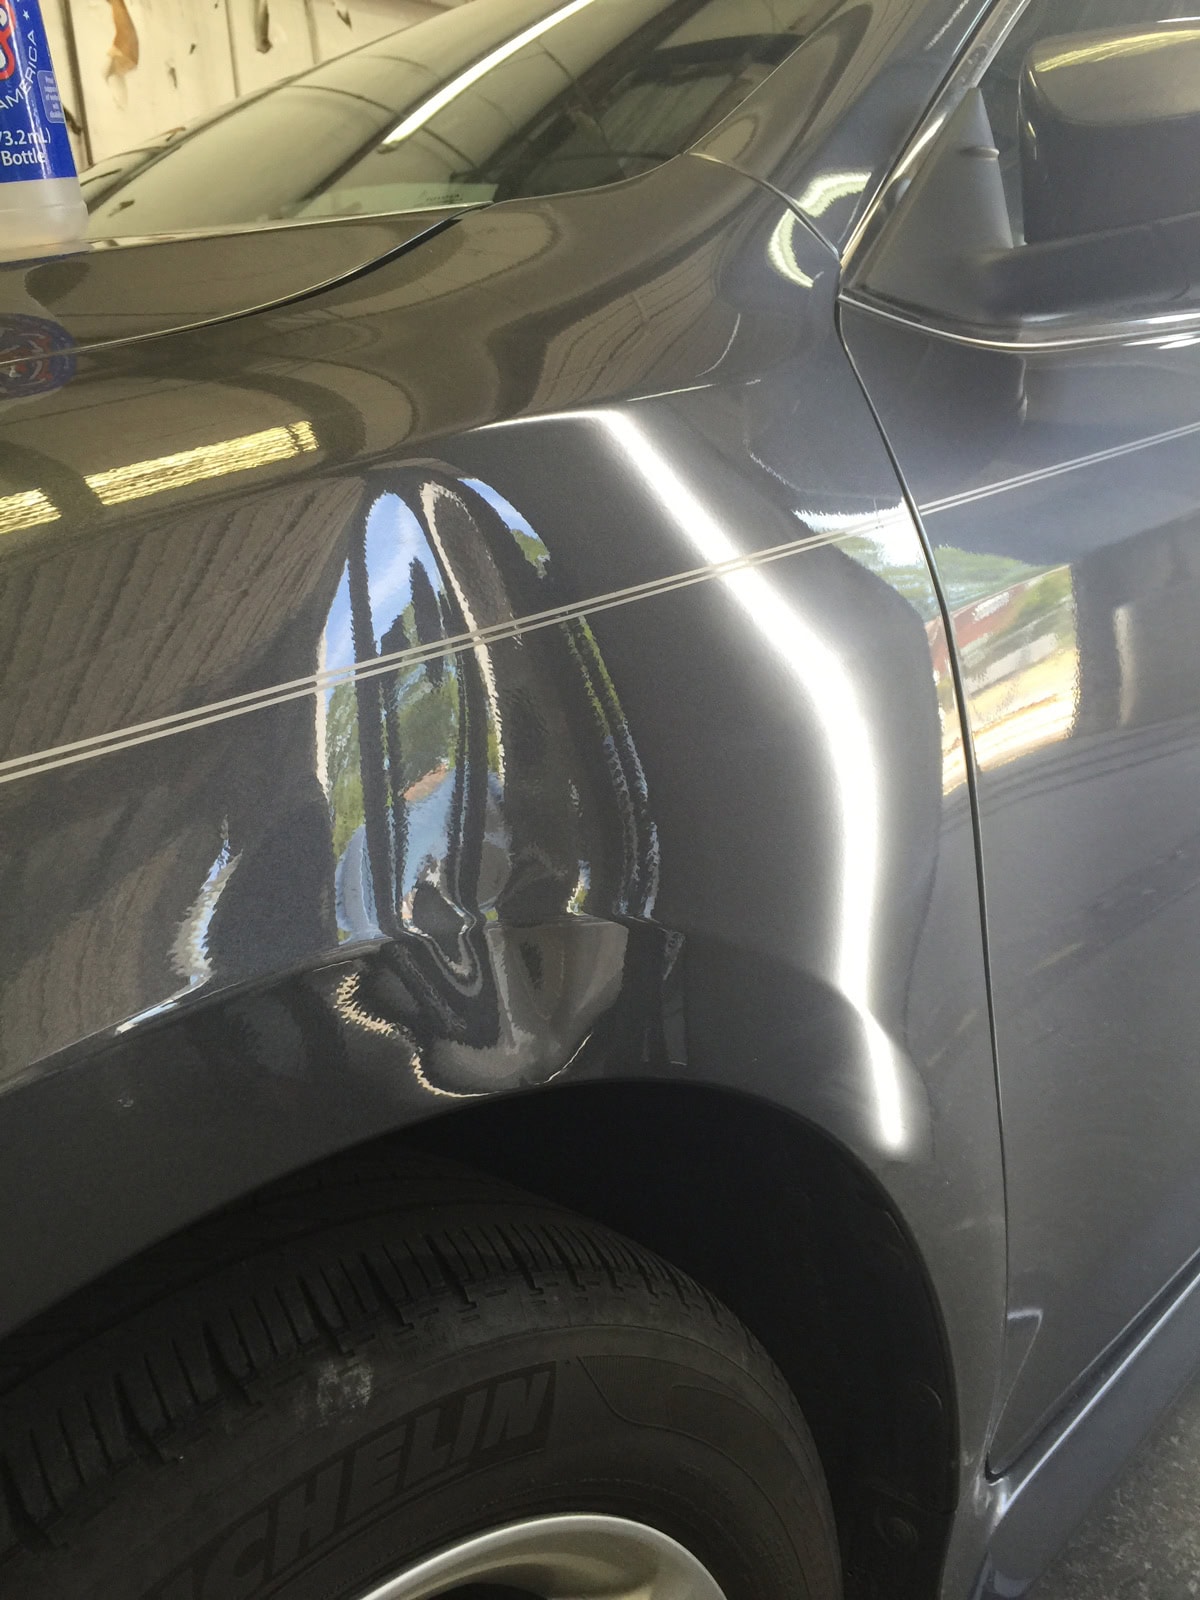
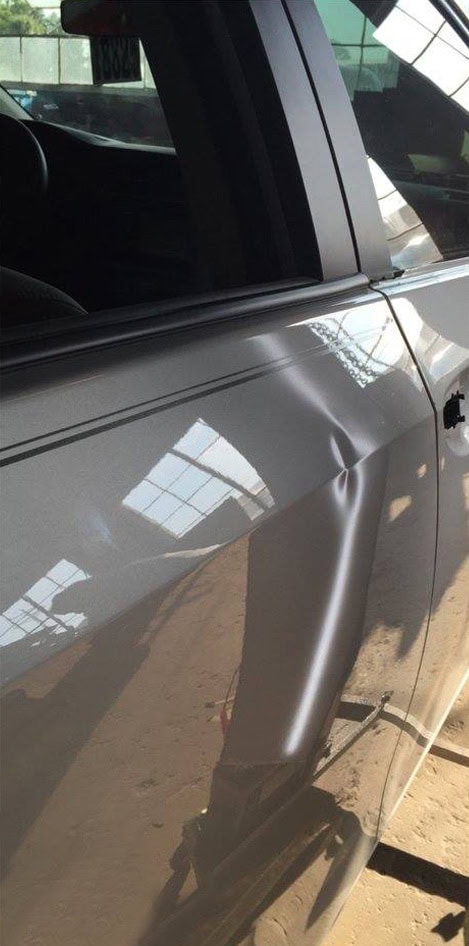
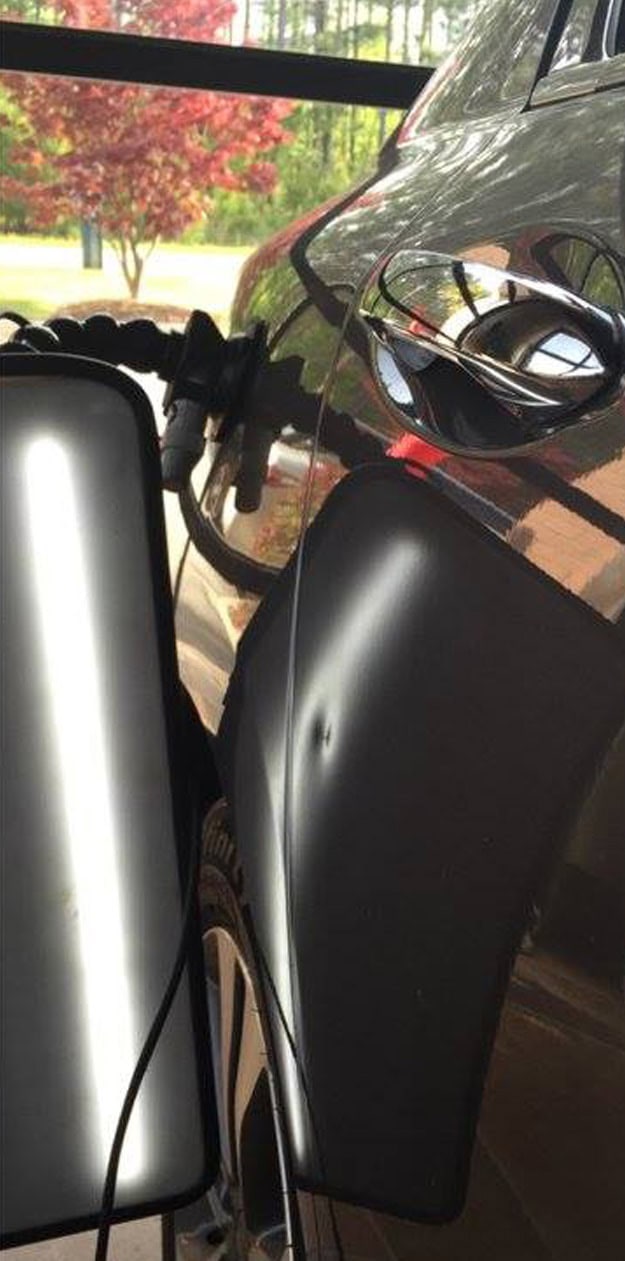
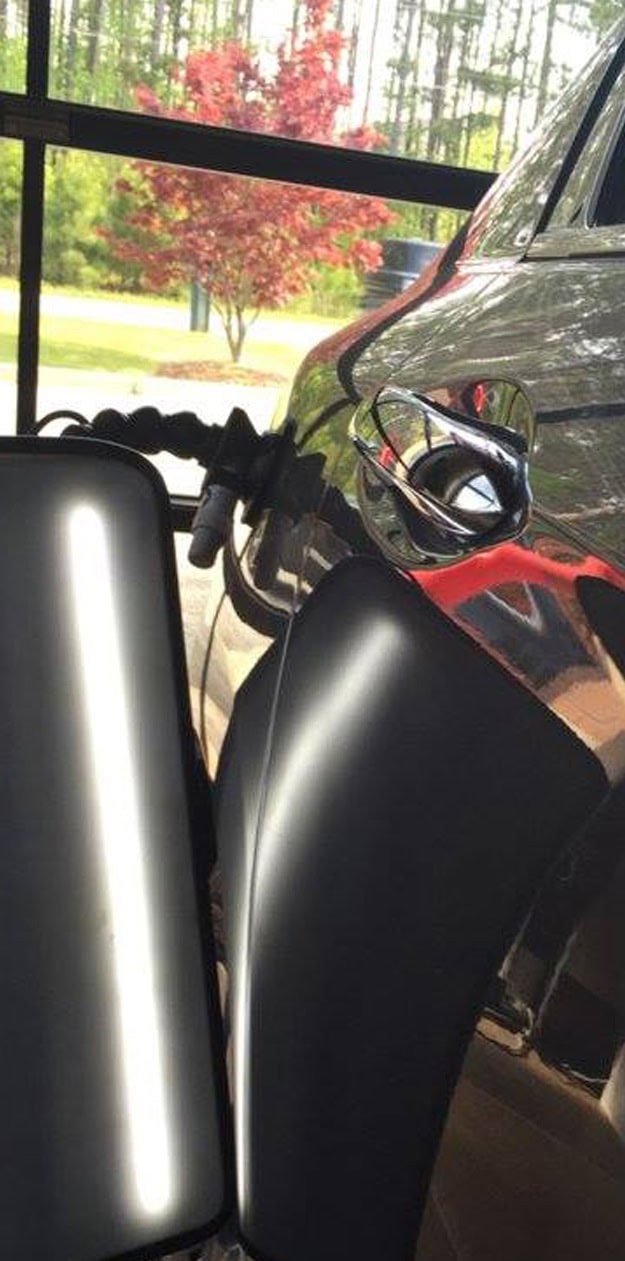
toyota_sequoia_grey_fender_before
Before
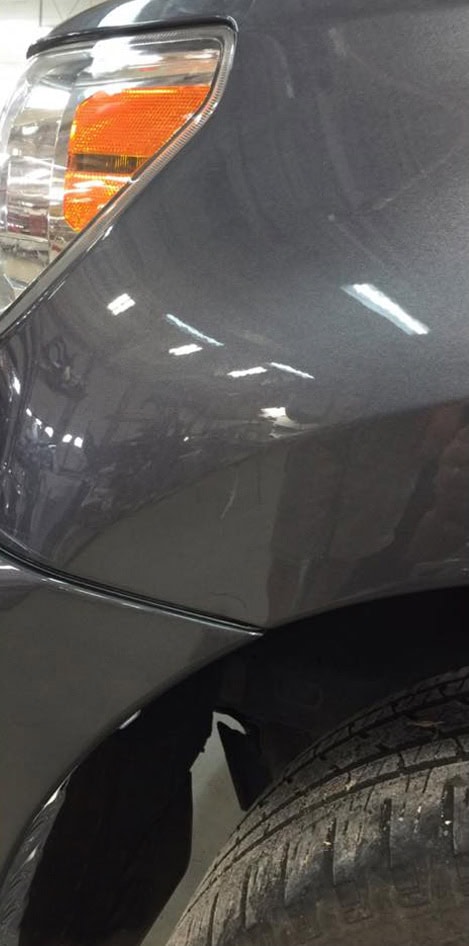
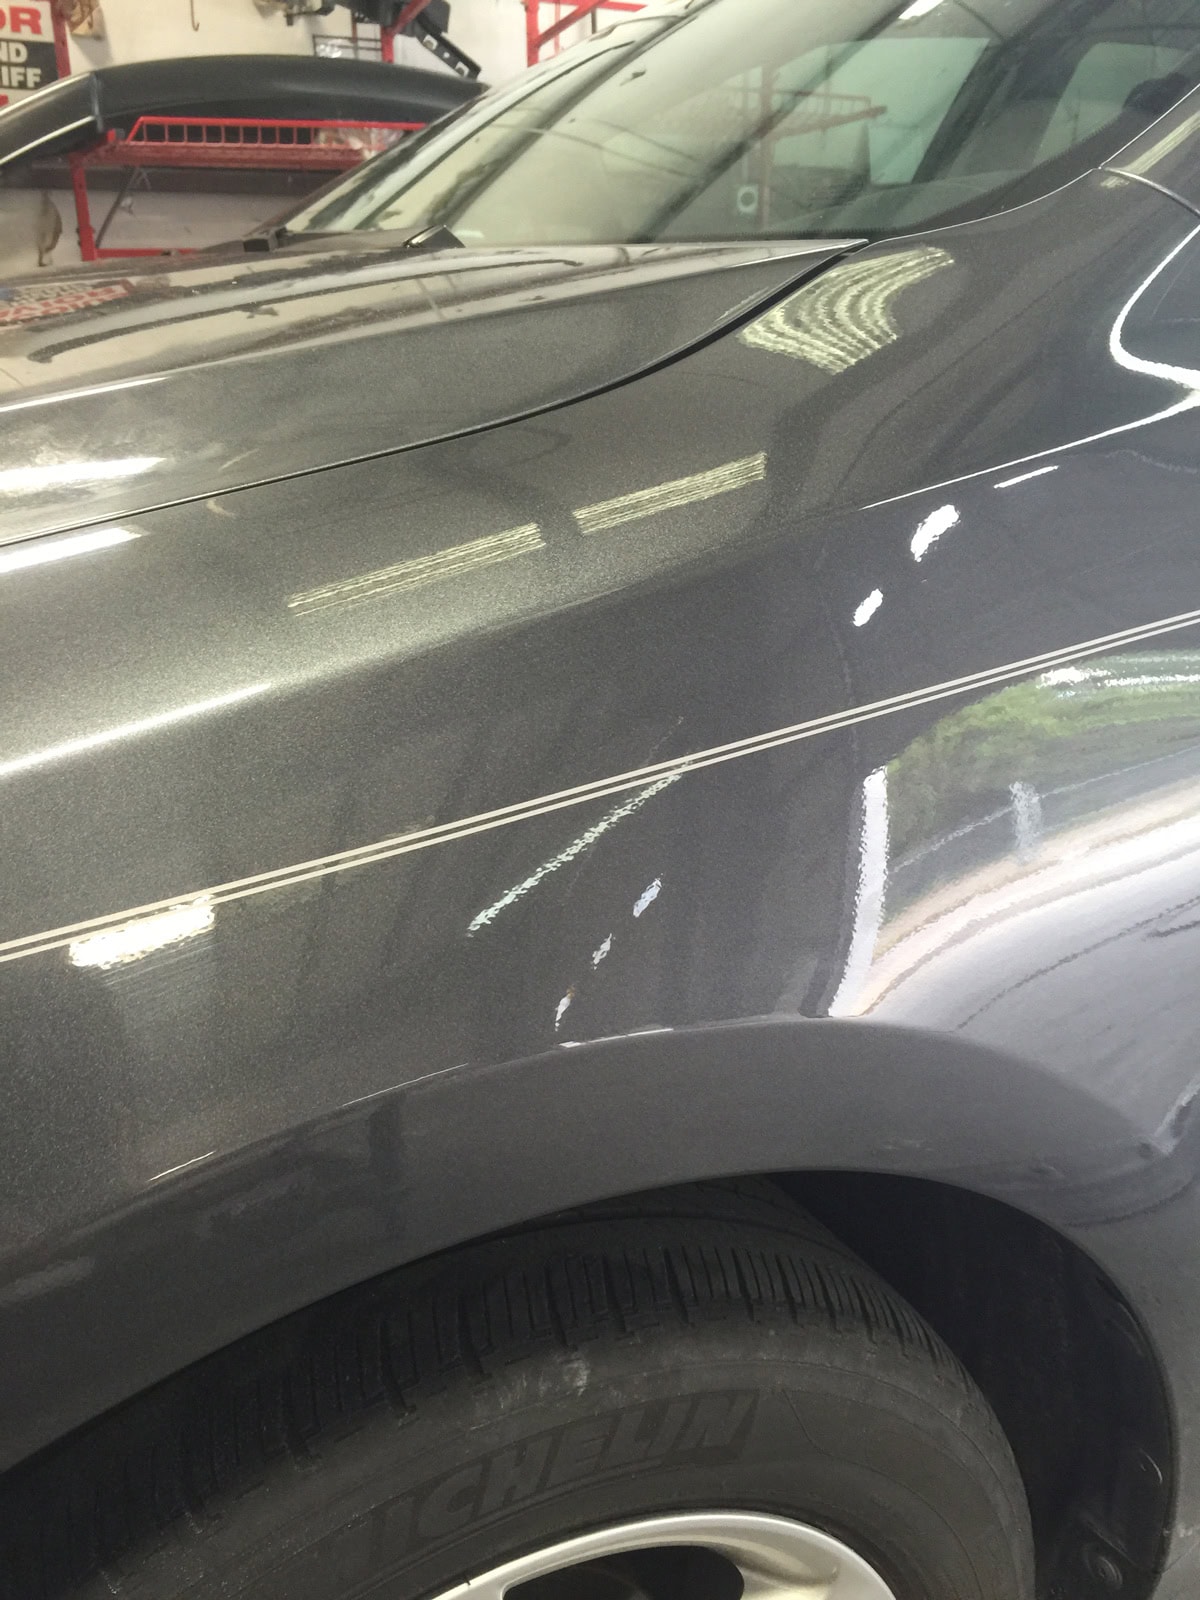
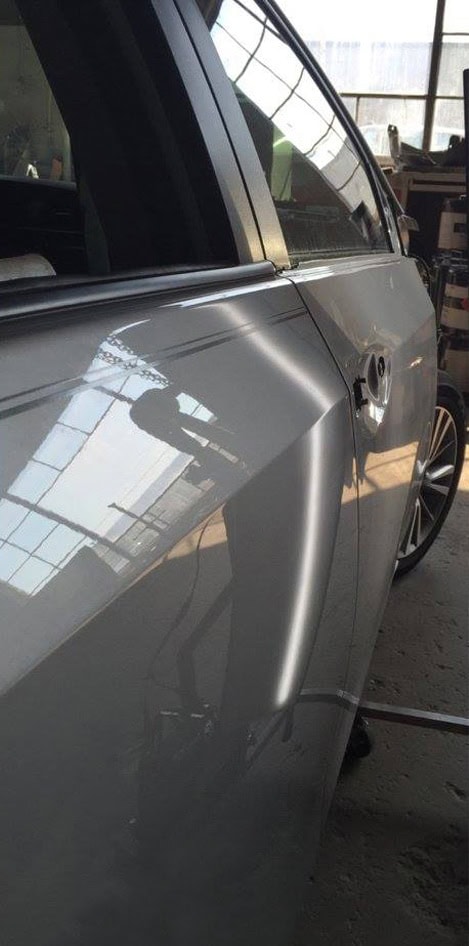
toyota_sequoia_grey_fender_after
After
toyota_corolla_grey_before
Before
toyota_corolla_grey_after
After
toyota_camry_grey_fender_before
Before
toyota_camry_grey_fender_after
After
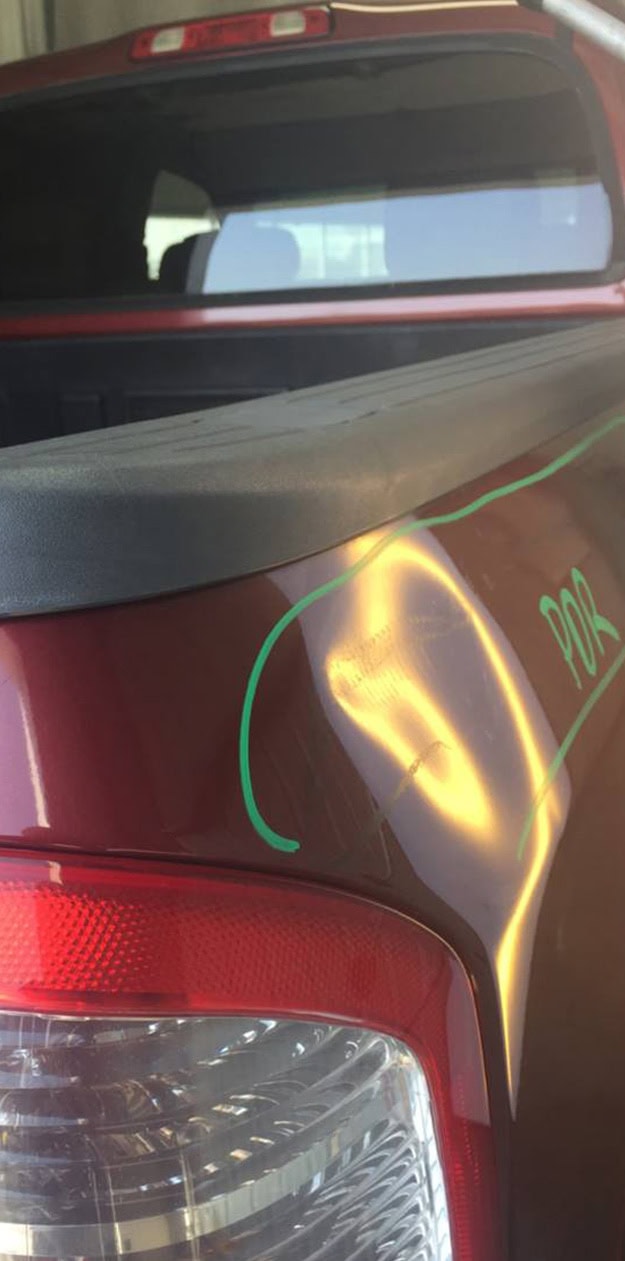
subaru_outback_red_rear_before
Before
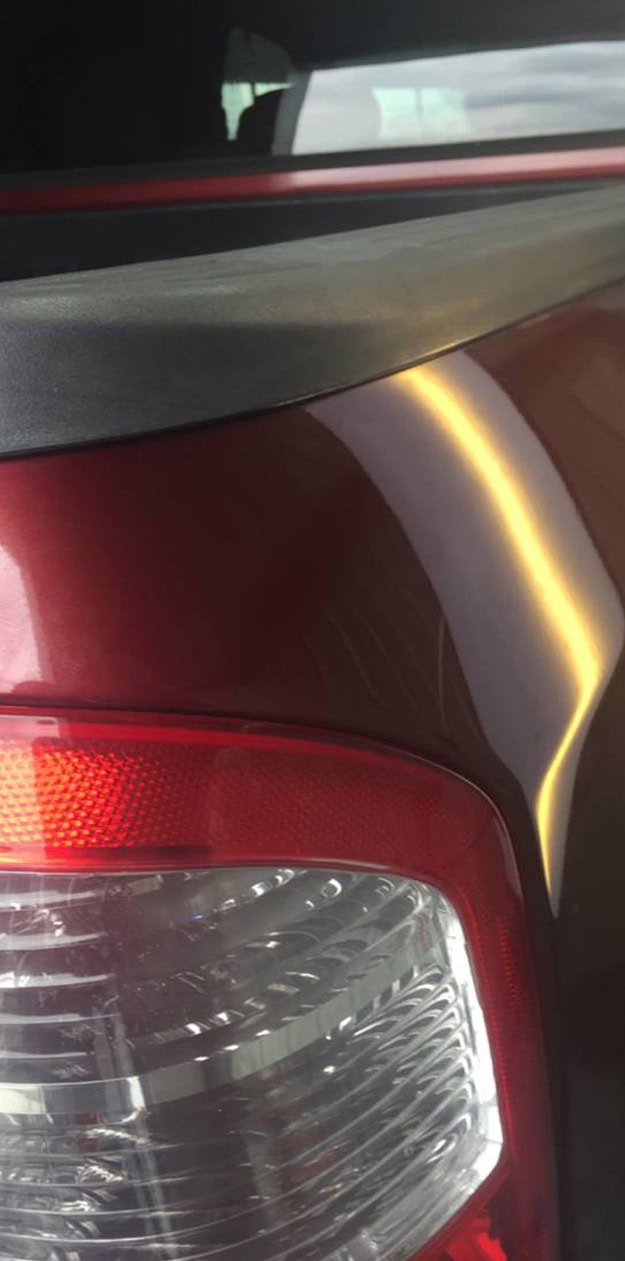
subaru_outback_red_rear_after
After
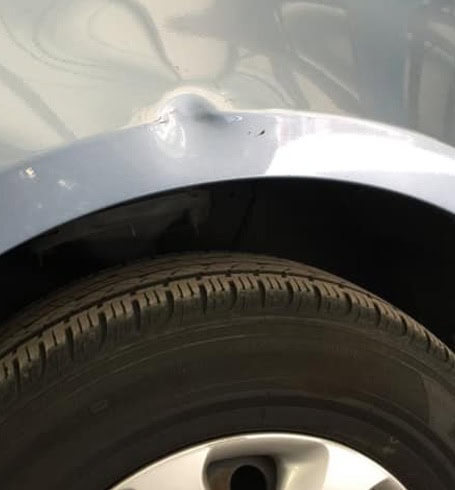
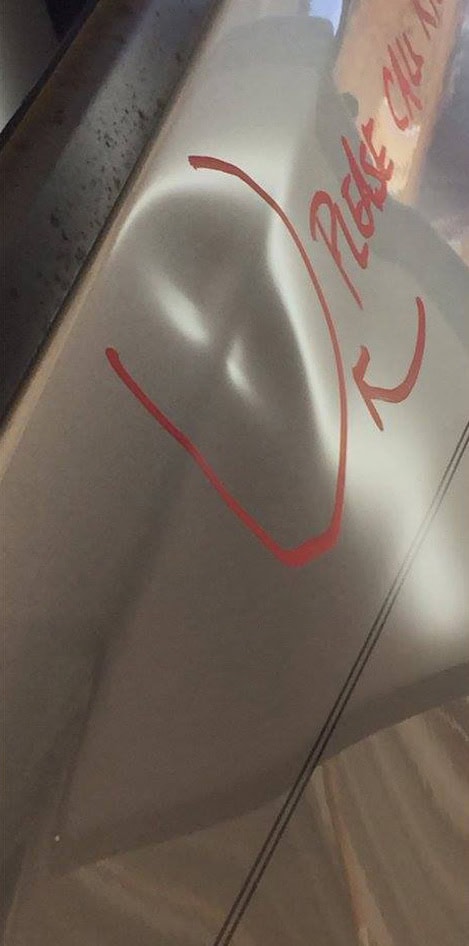
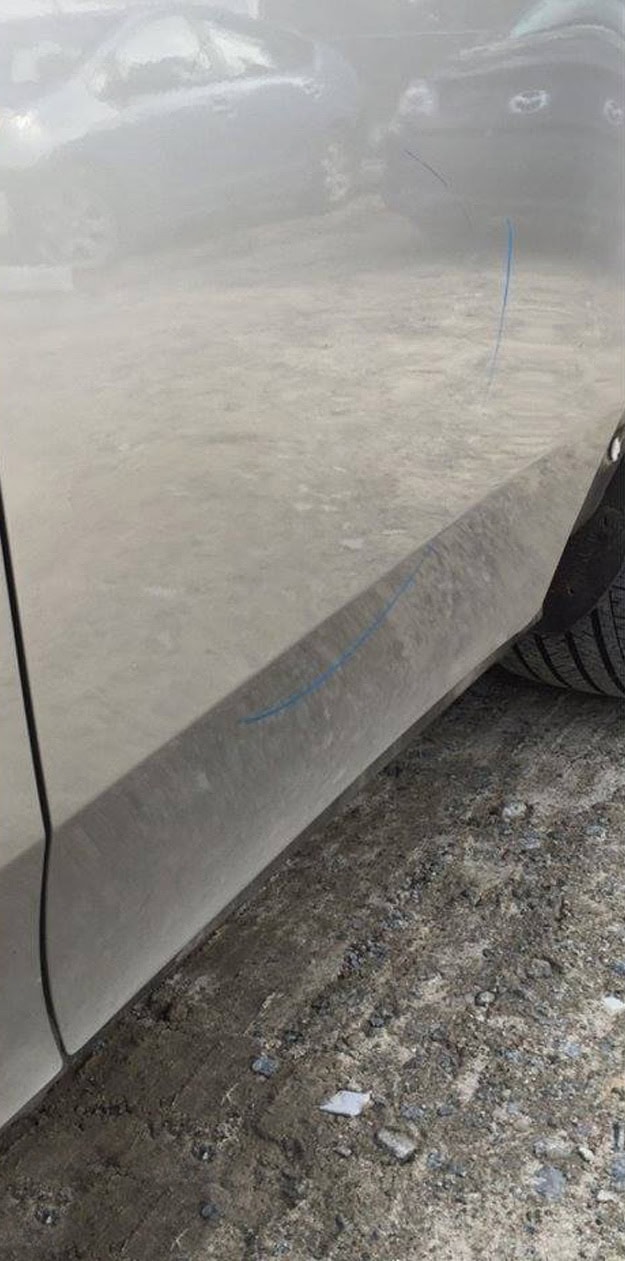
silver_above_wheel_before
Before
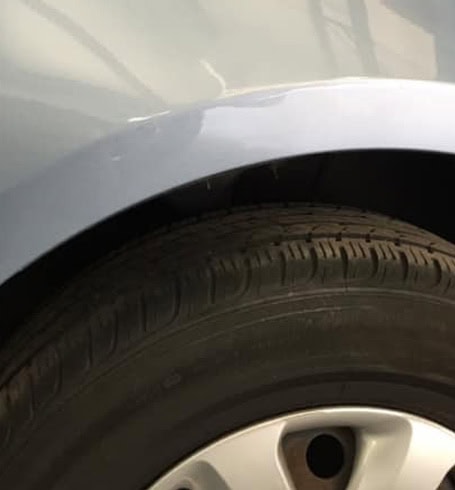
silver_above_wheel_after
After
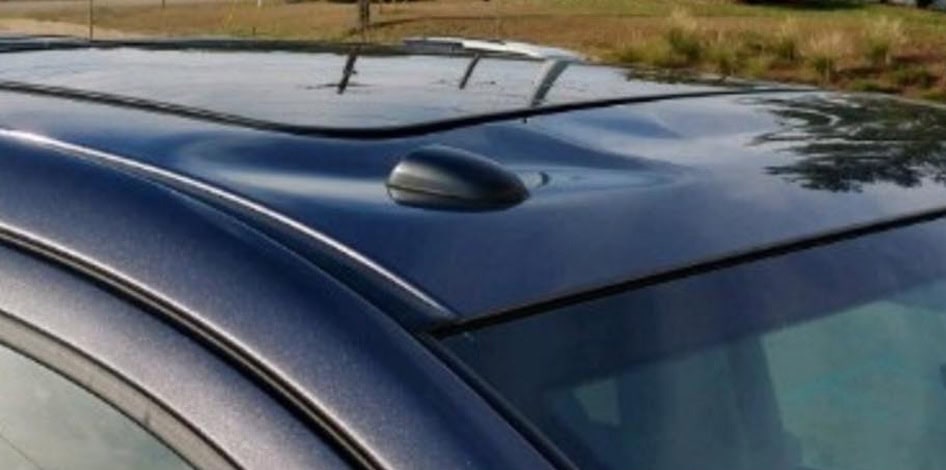
purple_roof_before
Before
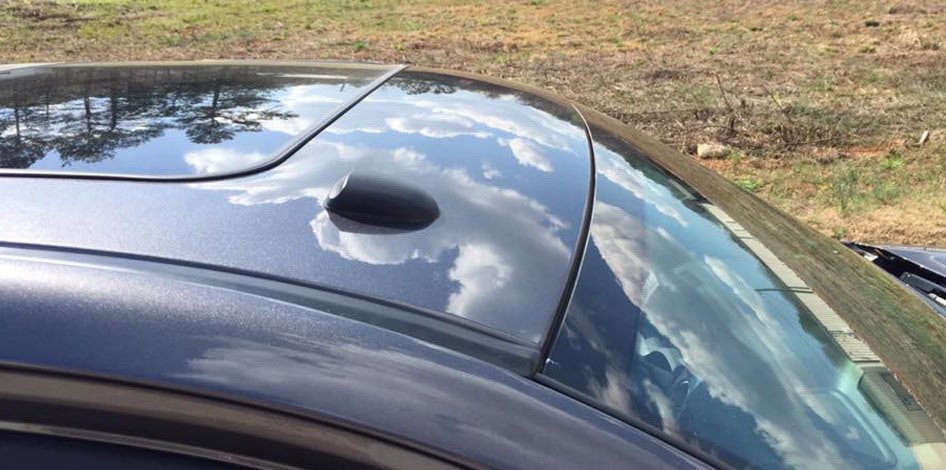
purple_roof_after
After
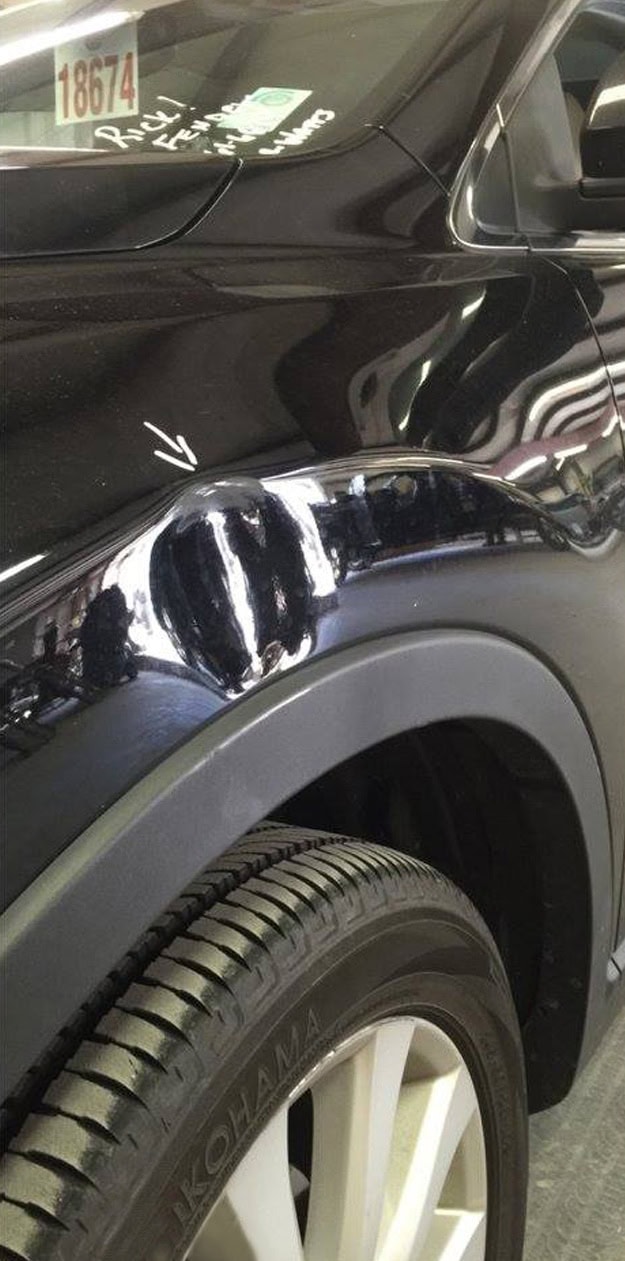
mazda_suv_black_before
Before
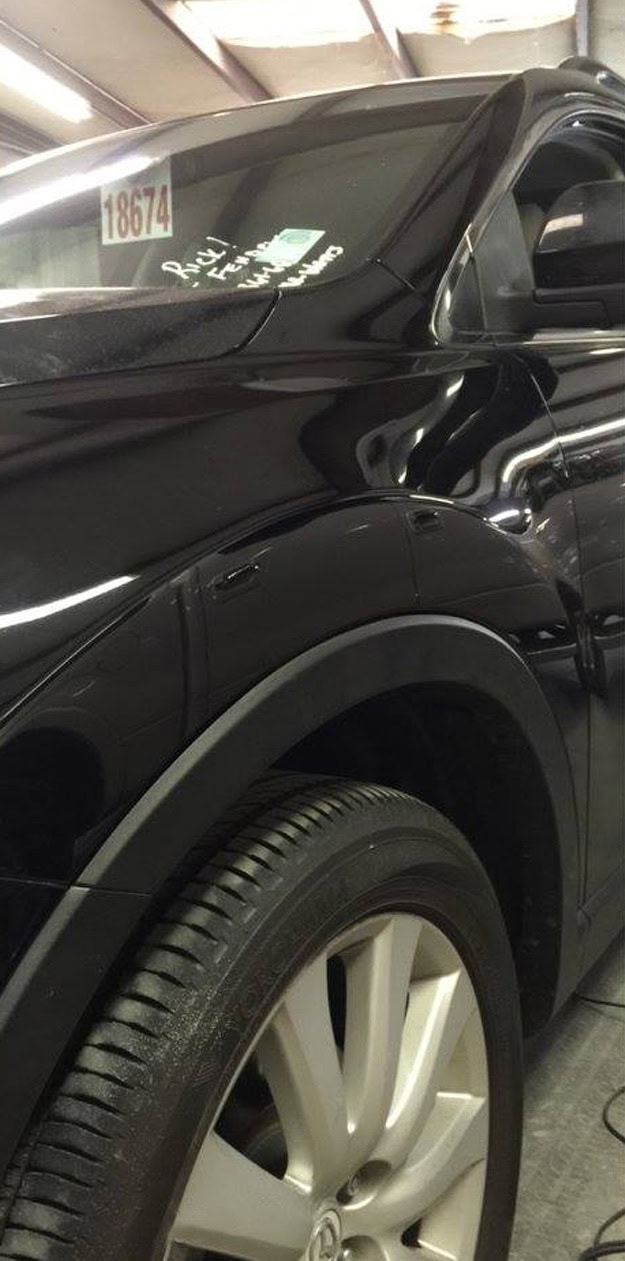
mazda_suv_black_after
After
honda_pilot_black_fender_before
Before
honda_pilot_black_fender_after
After
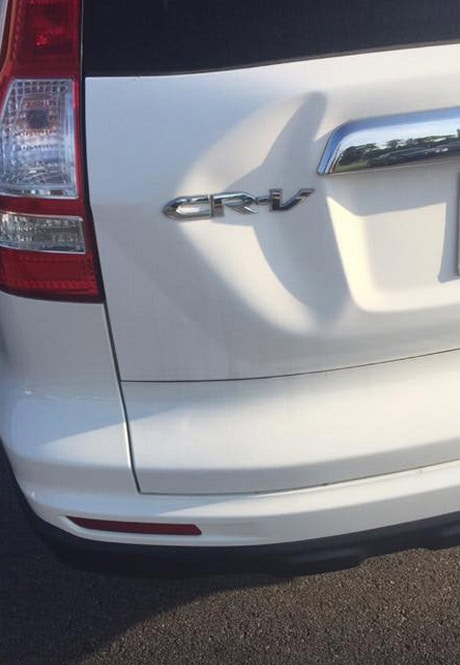
honda_crv_white_rear_before
Before
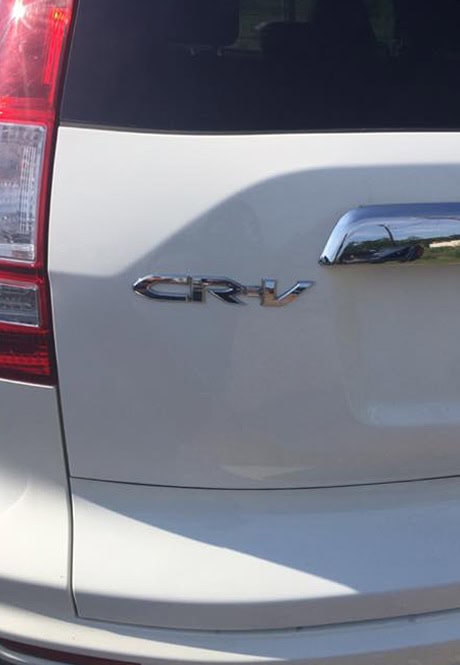
honda_crv_white_rear_after
After
honda_accord_black_before
Before
honda_accord_black_after
After
grey_van_door_before
Before
grey_van_door_after
After
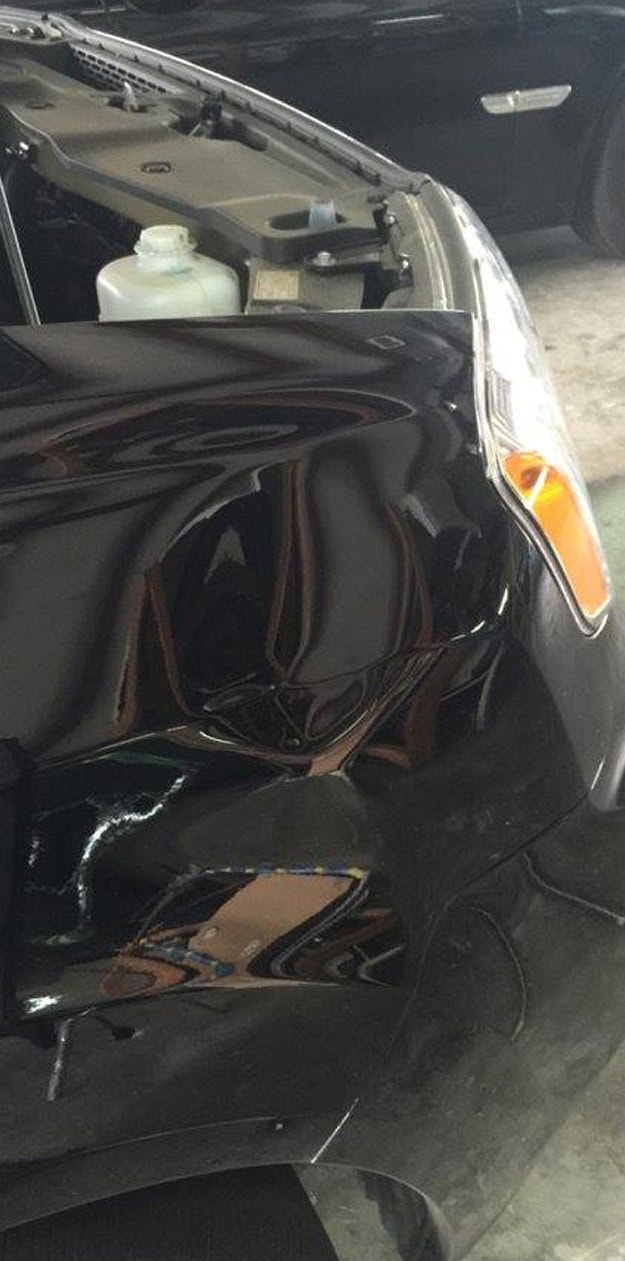
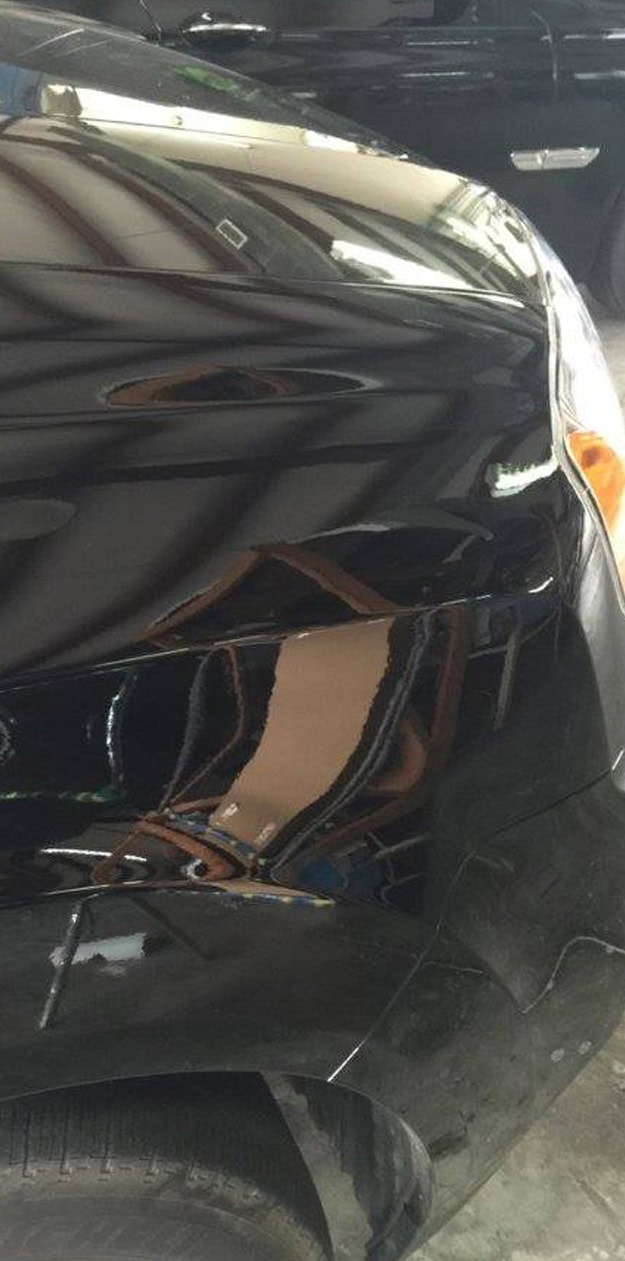
grey_mazda_fender_before
Before
grey_mazda_fender_after
After
dodge_ram_light_color_before
Before
dodge_ram_light_color_after
After
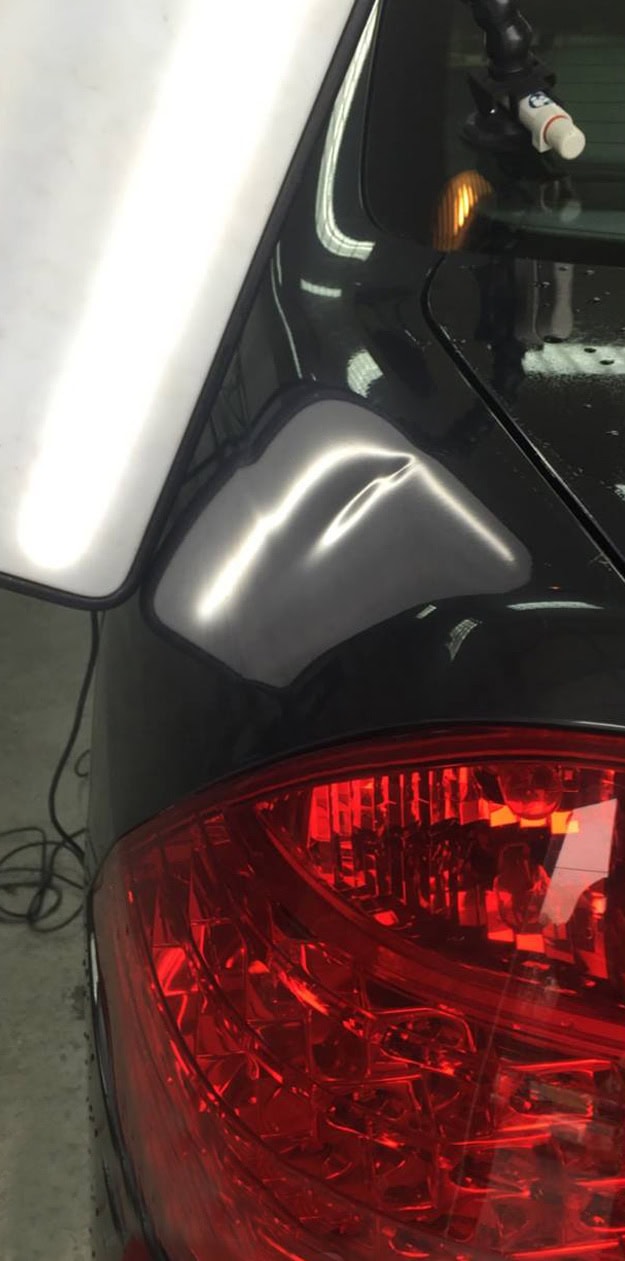
dark_sedan_rear_door_before
Before
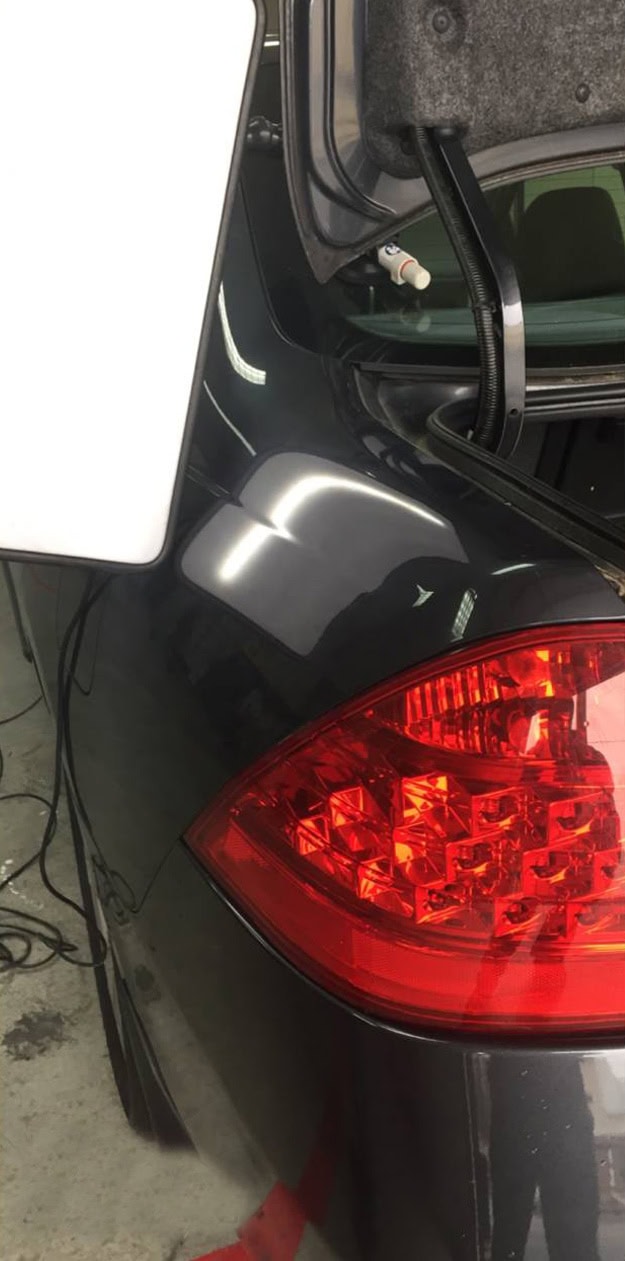
dark_sedan_rear_door_after
After
chevrolet_traverse_grey_before
Before
chevrolet_traverse_grey_after
After
chevrolet_caprice_white_before
Before
chevrolet_caprice_white_after
After
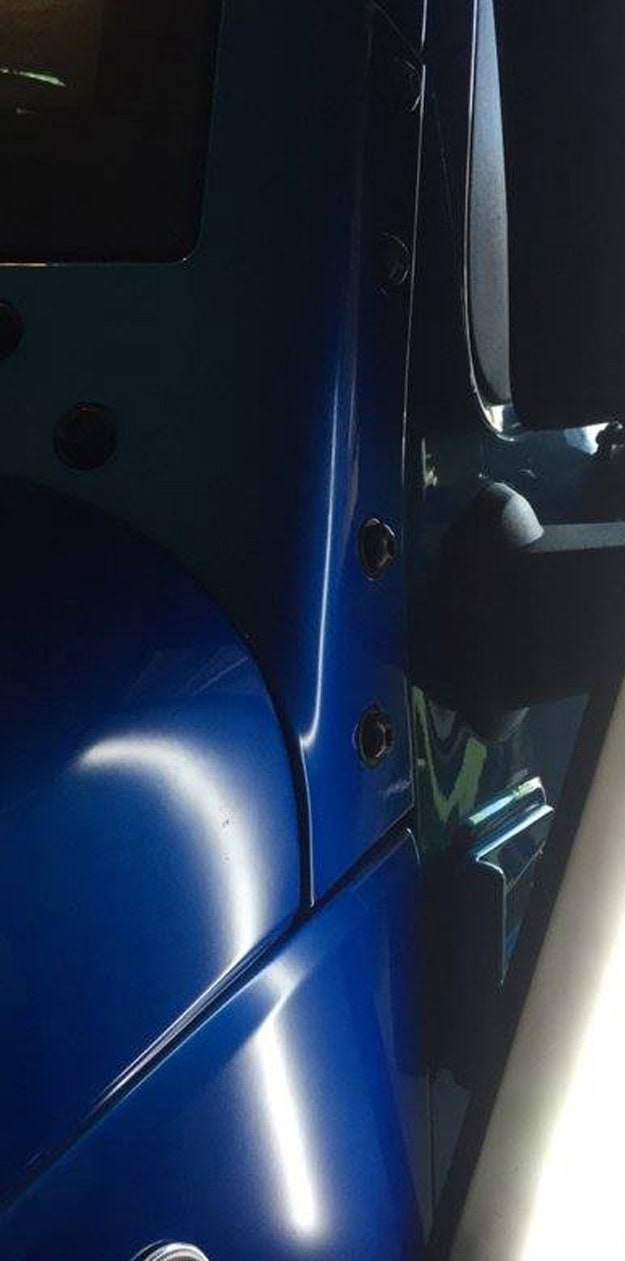
blue_jeep_hood_before
Before
blue_jeep_hood_after
After
black_truck_fender_front_before
Before
black_truck_fender_front_after
After
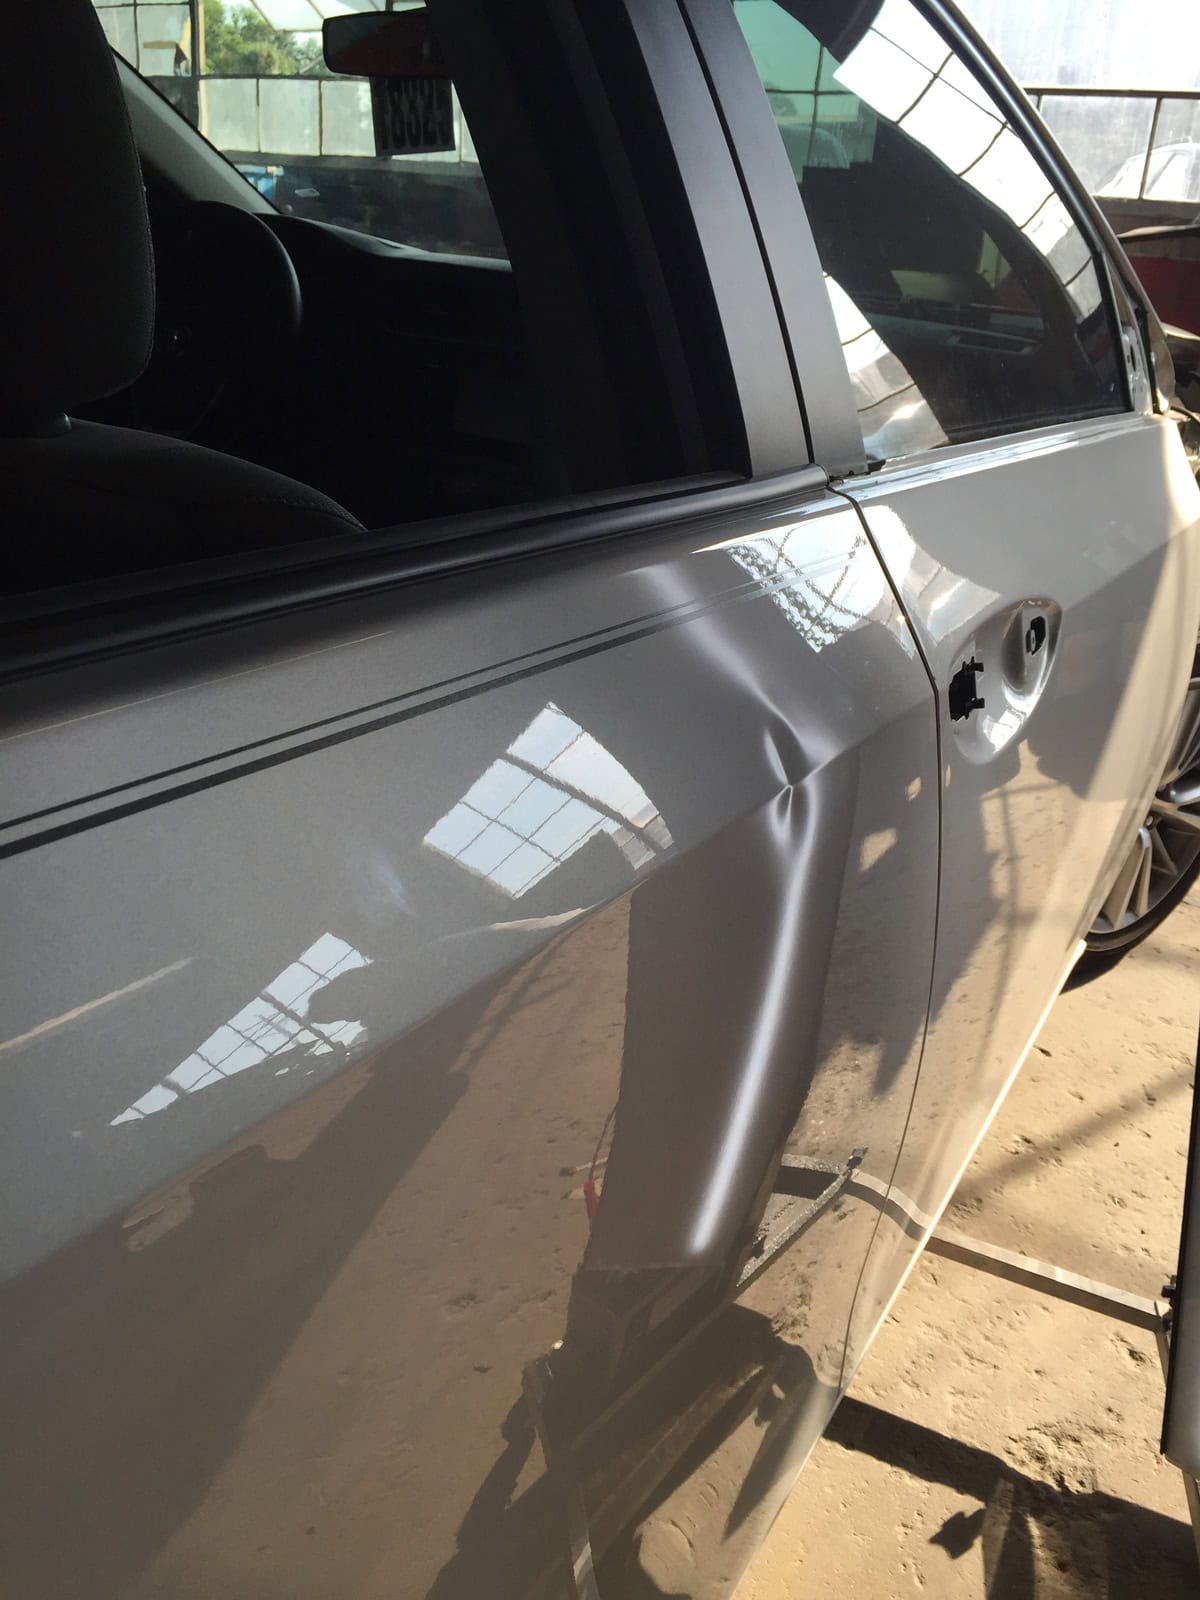
acura_door_silver_before
Before
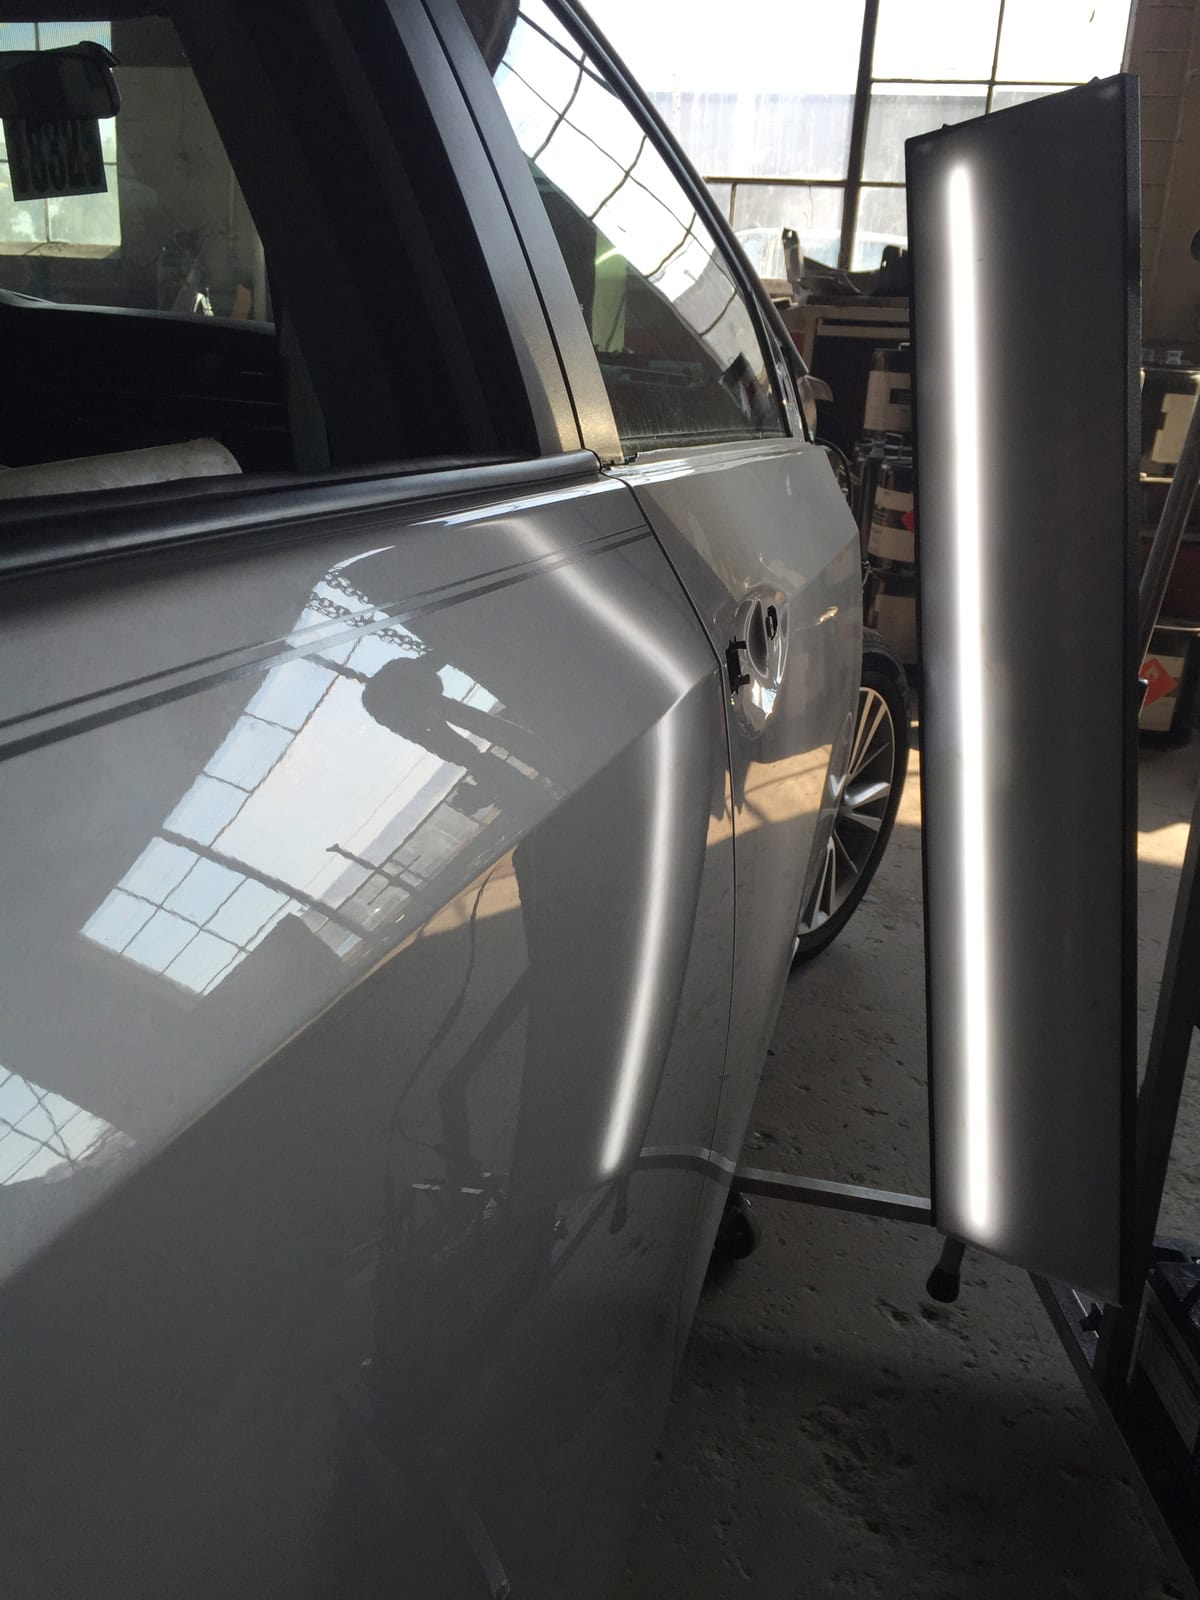
acura_door_silver_after
After
Close Menu
Home
About
Services
Hail Damage Repair
Dents, Dings & Creases Repair
Large Dents Repair
Pricing
Before & After
Contact


